Advanced Yoga Teacher Shares Tips
There is always something new to focus on in both yoga classes and self-practice.
This short post looks at some of the focuses for our advanced yoga classes.
Here’s some tips to focus on to keep progressing in your yoga journey!
Warrior 1 and Warrior 2 Pose
The warrior 1 and warrior 2 poses are a really good place to get the alignment on point.
These poses are great for working the foundations as a lot of the more advance yoga poses build from it.
It’s important to note that Warrior 1 has a lot in common with high crescent lunge.
The main difference is that in warrior 1 the back heel will be down whereas in high crescent lunge it is up.
This is why the high crescent lunge is more common in flow classes as it is easier for beginners.
For example, if you try going from warrior 1 to revolved side angle, you will notice how much harder it than if you just go straight from high crescent lunge.
That’s why we always give the option to have the back foot heel down or up!
Difference between warrior 1 and warrior 2?
The main difference between warrior 1 and warrior 2 is that the hips are closed in warrior 1 and open in warrior 2.
In Warrior 1 the arms and shoulders should be square whereas warrior 2 your chest and body is parallel to the wall they face.
If you are comfortable in warrior 2 bring the foot out more for greater stretch but keep about 90° and keep opening the chest.
Aligning the arms like a big stick from hand to hand, and you become aware of all the sensations with an even front body.
Gaze at your front hand or keep it neutral. Open and open. Keep smiling, life is good.
Extended side angle pose tips
Open your chest more
Focusing on the transition from warrior 2 to side angle pose, and extended side angle pose.
It is easy here to dump down and cave in here with the upper chest facing down.
You don’t want that.
You should be keeping the upper chest open facing up or to the side.
The feet
You want to keep the same foundations as warrior 2 like super glue.
Don’t focus on touching the ground but focus on opening the side body and extending the reach.
Keep back foot pressing down.
This is where the blocks help – use them if you can’t keep the back foot down.
Only if the back foot is pressing down you should take the bind.
Don’t jump to step 3 if you don’t have step 1.
How to do warrior 3 and half-moon pose?
The challenging but fun warrior 3 to half-moon transitions.
Focus on getting that perfect alignment and openness in the chest;
To do that make sure you have a solid warrior 3 pose.
When taking the transitions, start with a block and make sure the side body is even before taking to the floor.
Your chest should be parallel to the side wall;
Make sure both arms are in line with shoulder, fingers spread!
Bend a bit on that front knee if needed but not too much. You want to keep that thigh active and engaged.
How to do hand to foot extensions?
If you are a beginner – focus on bending the top knee to reduce rounding in the back.
This is better than extending the top leg and rounding if you don’t have the reach.
You are still going to get a stretch!
If you are unsure about whether you can do the pose and maintain the alignment, here’s what you should do:
Sit on the floor and try the one legged forward fold to see if you actually have the reach!
Then you will know.
If you can’t do it sitting down you are not going to be able to do it standing up.
When you are doing the pose, try to keep a strong leg, level hips, level shoulders and take the appropriate option.
All easier said then done, of course.
Ben shows this pose below:
How to do camel pose?
Camel pose yoga tips
- Align by keeping your knees about hip distance apart and feet pressing down if you are starting;
- When you come back for the pose after lengthening, imagine you are squeezing a block between your elbows and lift up through the chest;
- Keep the shoulders relaxed from the ears;
- The abs and cores should stay strong;
- Take it slow by keeping the hands to the lower back rather then the feet.
How to do a headstand?
Tips for headstand
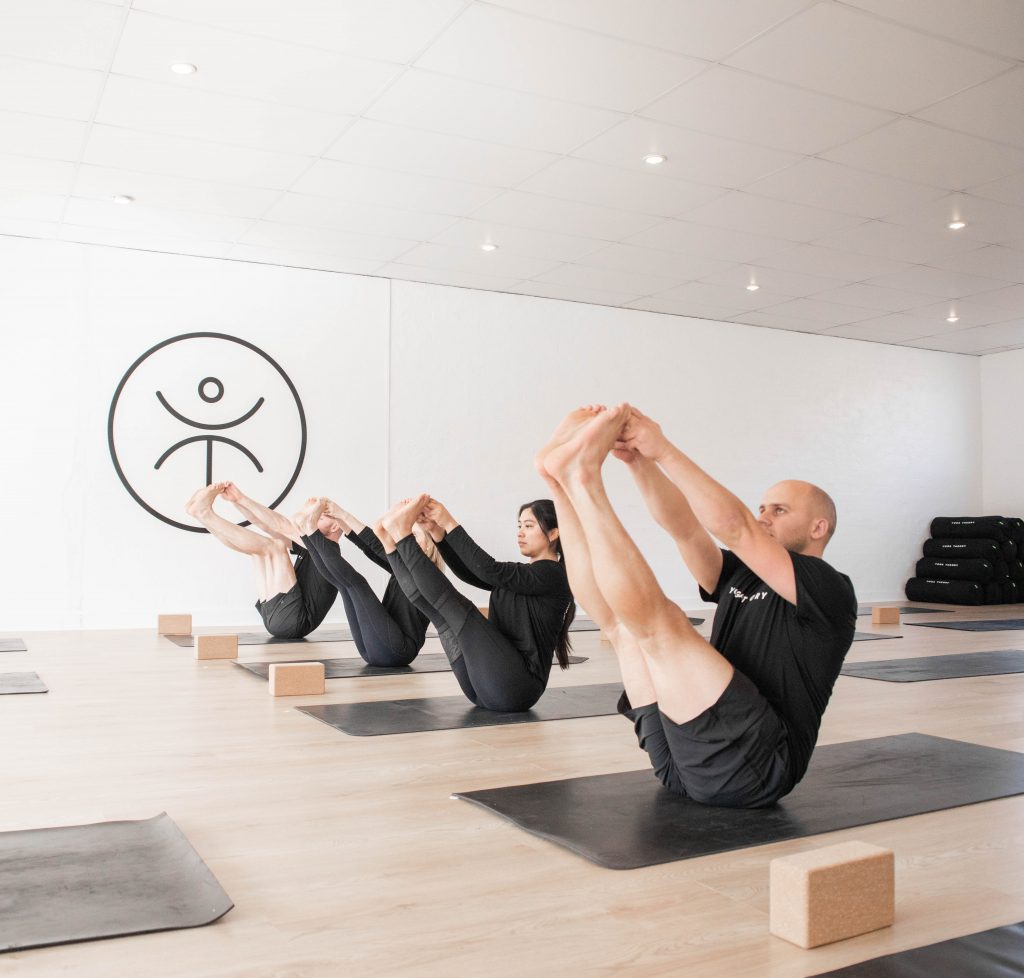
- Work on your core strength by mastering poses such as plank pose, navasana and dolphin pose;
- Start with the base, always. Get a solid foundation through the correct arm placement and hand to head grip/ratio (discussed in classes);
- Get a solid foundation with your elbows, core and feet pressing up;
- Keep the thighs engaged and turning in;
- When you are first trying, get your knees to your chest before jumping all the way up;
- If you can not balance with your knees in your chest or baby headstand, why do you think you would balance being all the way up? Don’t rush it, that’s how injuries happen!
- Come out with control and as always keep the breath.
We hope you found this short guide valuable. If you have any questions about yoga you can contact us and speak to our friendly trainers at anytime.
Learn more about our Adelaide yoga classes here!


